How To Update The Text On Your Website Pages
*This guide is strictly for adding, removing, and updating text on the Elementor builder within WordPress. If your website uses a different builder please reach out to us for further instructions*
Accessing Elementor Editor
Navigate to the Page You Wish to Edit
- Log in to your WordPress dashboard and navigate to the page you want to modify using Elementor.
- Click on the “Edit with Elementor” button to launch the Elementor editor for that page.
Changing Existing Text
Identifying Text Elements
- Once in the Elementor editor, you’ll see a visual representation of your page with various content blocks.
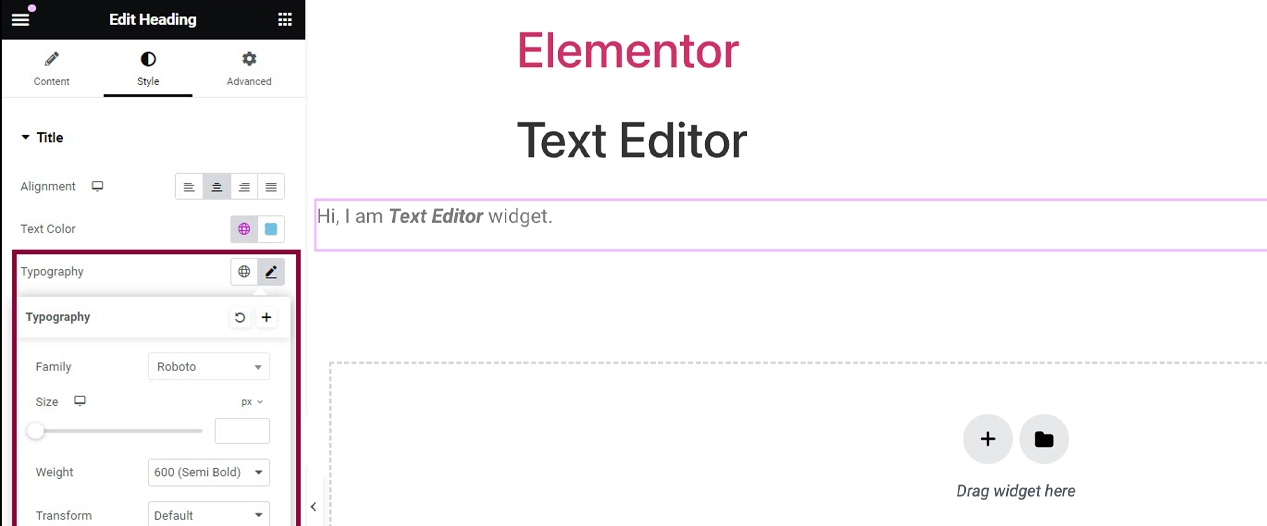
- Identify the text element you want to change by clicking on it. The text box will be highlighted, and editing options will appear on the left panel.
Editing Text Content
- In the left panel, under the “Content” tab, you’ll find the text content of the selected element.
- Simply click inside the text box to edit the existing text. You can delete, add, or modify the content as desired.
Formatting Text
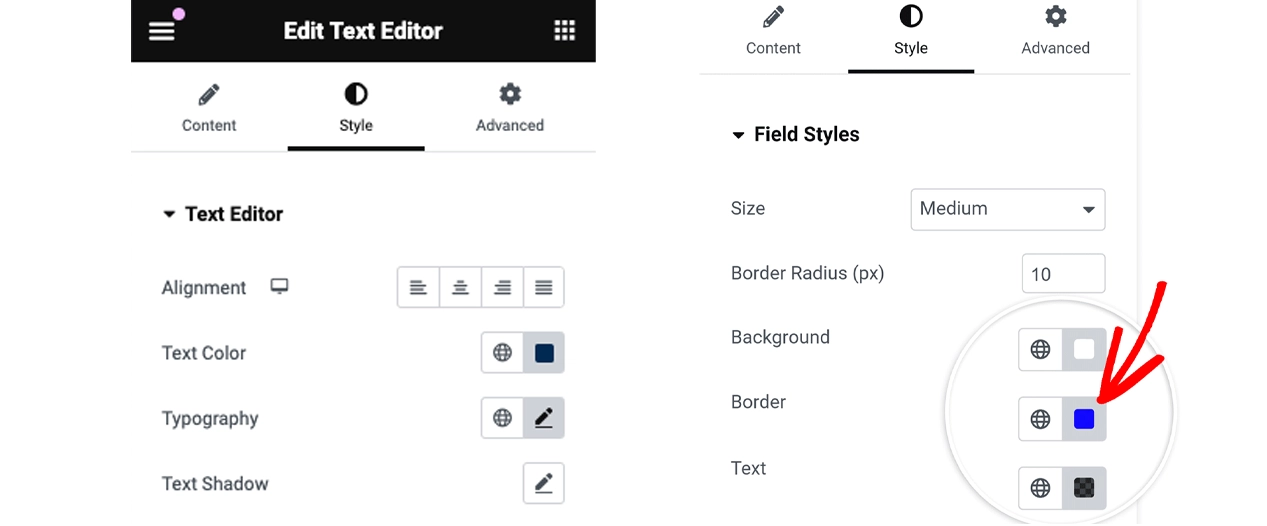
- Use the formatting options provided in the left panel to customize the appearance of the text.
- You can change the font size, style, color, alignment, and other formatting attributes to match your website’s design and branding.

Adding New Text Elements
Adding a Text Widget
- To add new text to your page, locate the “Elements” panel on the left-hand side of the screen.
- Find the “Text Editor” widget under the “Basic” section, and drag it onto the desired section of your page.
Editing New Text Content
- Click inside the newly added text box to enter your desired text content.
- Similar to changing existing text, use the formatting options in the left panel to customize the appearance of the new text.
Positioning and Styling
- Drag and drop the text element to reposition it within the page layout.
- Experiment with different styling options, such as background colors, borders, and spacing, to enhance the visual appeal of the text element.

Saving Changes
Preview and Save
- Once you’re satisfied with the changes, click the “Preview” button to see how your page will look to visitors.
- If everything looks good, click the “Publish” button to save your changes and make them live on your website.
